


Shower drain covers are very important for bathrooms because they are the main way for bathroom drainage. If there is no drain cover or the drain cover is clogged, the water will not drain out or the water will drain out slowly. This will cause moisture in the bathroom. In this guide today, we’ll show you how to install and replace a shower drain cover so you can always check the condition of your drain yourself. Read on to learn more.
1. Required tools
Before you install your new shower drain cover, you’ll need to gather the tools and materials you’ll need. This will help you work quickly and in an organized manner.
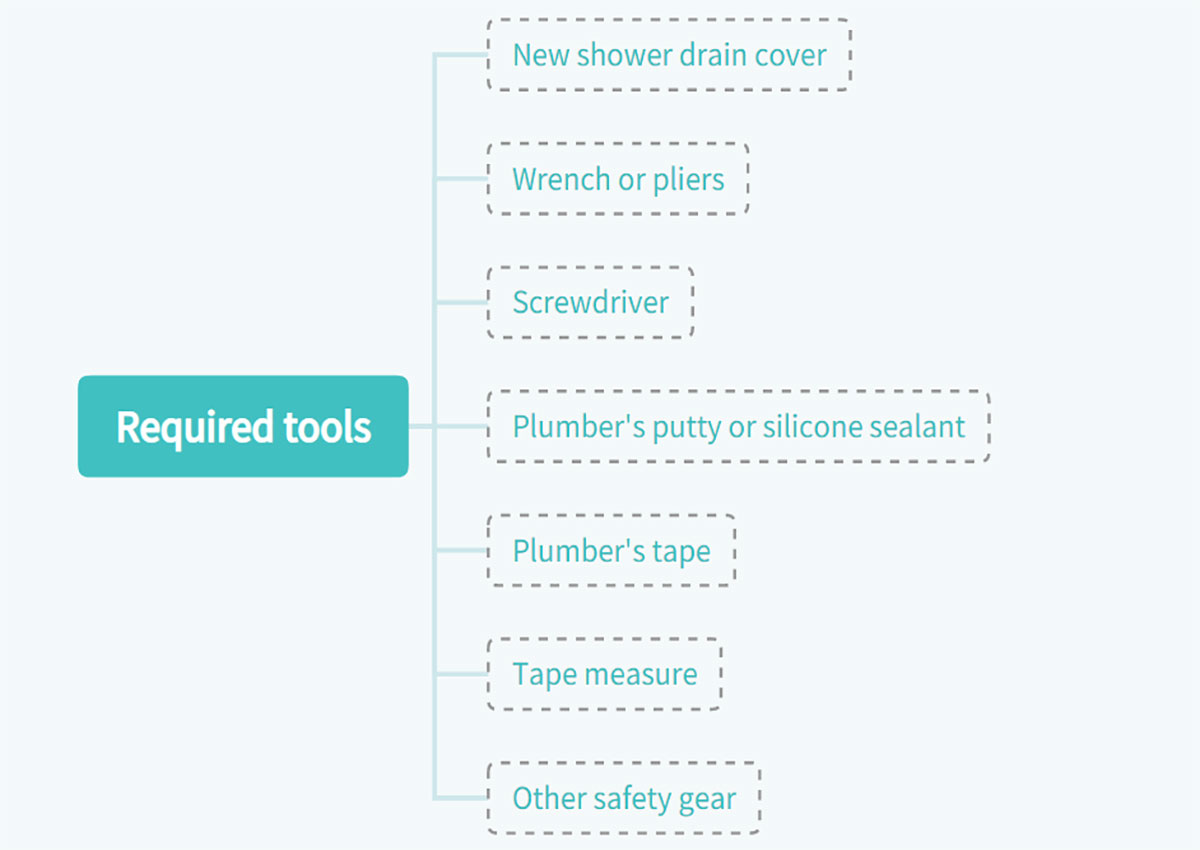
Tools needed:
New shower drain cover: Choose the type of shower drain cover that suits your bathroom’s aesthetic and functional needs.
Wrench or pliers: These are used to tighten and loosen connections during installation. A pipe wrench or channel locking pliers are especially helpful.
Screwdriver: A screwdriver is used to secure the drain cover to the floor, the type (flat or Phillips) will depend on your specific shower drain cover model.
Plumber’s putty or silicone sealant: used to create a watertight seal between the shower drain cover and the new drain pipe. Some people may prefer silicone for its longevity, while others prefer the ease of workability of plumber’s putty.
Plumber’s tape: Used to seal and lubricate threaded connections to prevent leaks.
Tape measure: To ensure proper installation, you will need a tape measure to measure the dimensions of your drain cover.
Other safety gear: Don’t forget safety glasses and work gloves to protect yourself during the process.
Note: The specific installation tools and materials will vary depending on the model of the drain cover. It is recommended to read the instructions carefully before installation to avoid installation errors.
(Looking for a reliable bathroom accessories manufacturer? Your request will be met.)
2. Steps to install shower drain cover
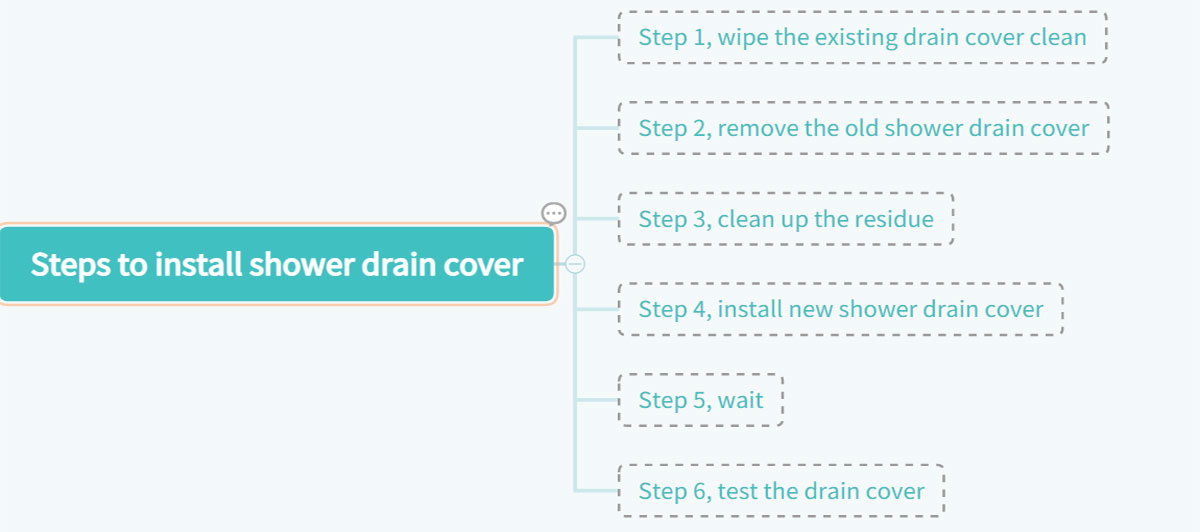
Here are the steps on how to replace and install a shower drain cover.
1) Step 1, wipe the existing drain cover clean
Wiping the existing drain cover clean will help you quickly locate the screws for removing the old shower cover.
2) Step 2, remove the old shower drain cover
Use the correct screwdriver to unscrew the drain cover. If there is silicone sealant around the edge, you may need to carefully remove it before you can lift the drain cover.
If you can’t see the screws, you can use a screwdriver to gently pry the drain cover away from the edges. But if you are replacing it, be careful not to damage it, or damage your shower pan or tile floor.
3) Step 3, clean up the residue
Once you remove the old drain cover, you’ll be able to see inside the drain pipe. If you see hair or soap residue, pick it up and throw it in the trash. After cleaning up the residue, drainage can be made smoother.
4) Step 4, install new shower drain cover
Take out the new drain cover that you prepared at the beginning, align it with the holes of the screws, and then use a screwdriver to tighten it. In order to avoid safe use later, it must be tightened here. Also, if you have used silicone sealant or caulk before. Now it’s time to reseal the edges for a neat, waterproof finish.
5) Step 5, wait
After completing the above steps, you can clean around the drain cover and make sure there are no water drippings. Then wait at least 12 hours to ensure the sealant is completely dry.
5) Step 6, test the drain cover
The last step is to check the drain cover. You can check whether the water flows out smoothly by pouring a basin of water on it, and gently turning the drain cover with your hands to check whether it is firm. If everything is intact, you are ready to enjoy your bath.
(Another related post: Bathroom Accessories: A Full Guide)
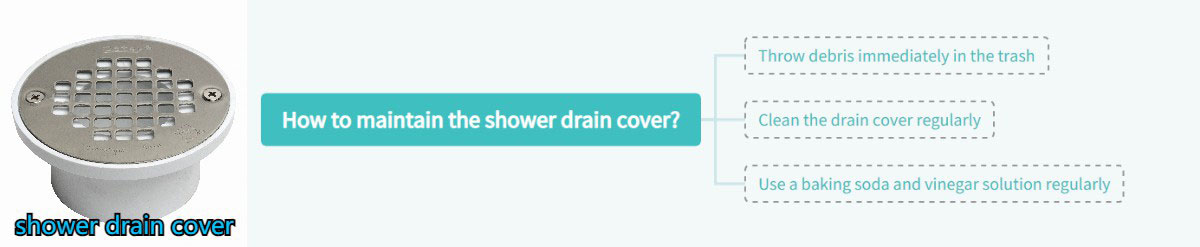
3. How to maintain the shower drain cover?
To extend the life of your shower drain cover, routine maintenance is essential. Here are some maintenance tips.
- Throw debris immediately in the trash: The main cause of clogged shower drains is debris building up on the drain cover. It is recommended that if you create waste while showering, throw it away in the trash immediately.
- Clean the drain cover regularly: You can choose a day to clean your bathroom, for example, once a week or three times a month. Adjust according to your time.
- Use a baking soda and vinegar solution regularly: A baking soda and vinegar solution can help break down minor clogs and keep your drains smelling fresh.
(Another related post: Bathroom Furniture: A Full Guide)
4. Conclusion
That’s all you need to know about how to install and maintain a shower drain cover. While regular maintenance and minor repairs can usually be handled independently, in some cases calling a professional plumber is recommended. If you have any other questions, please feel free to contact Nicemoco.